How to Install Corrugated Pipes: Correct Laying Techniques and Critical Tips for Infrastructure Projects
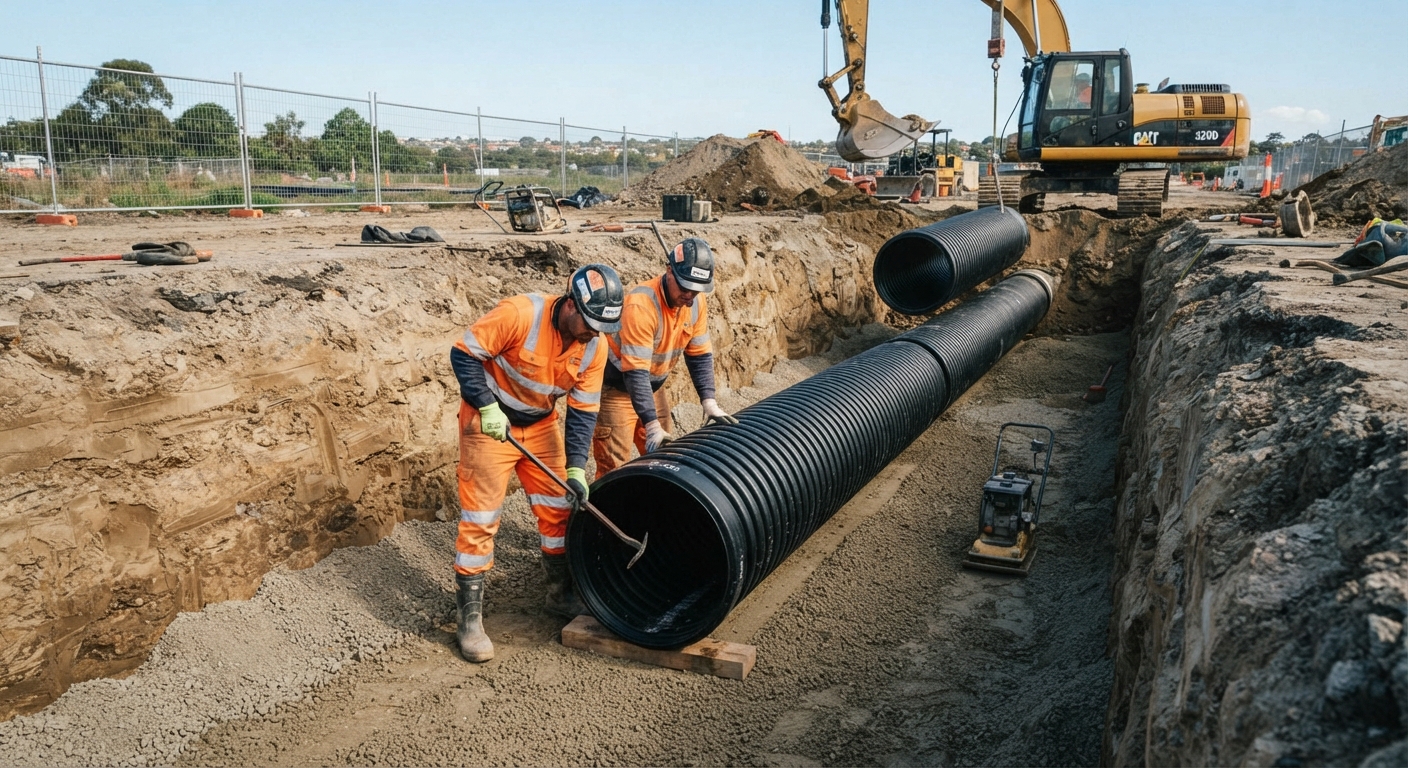
Sewer, stormwater, drainage and wastewater lines are essential to sustainable cities and public health. HDPE (High-Density Polyethylene) and PP (Polypropylene) corrugated pipes have replaced traditional pipe materials in many projects because of their ring stiffness, flexibility, impact resistance and long service life.
Even a pipe manufactured from high-quality raw material and classified as SN8 cannot deliver its intended performance if installed incorrectly. This practical guide covers the complete corrugated pipe installation process, from trench excavation to final backfill, along with the mistakes to avoid.
1. Planning and Site Safety
Before installation, review the geotechnical report, route, elevation sections and design slopes carefully.
- Safety: Design trench slopes according to occupational safety regulations, use shoring in deep excavations and secure the site with warning signs.
- Inspection and storage: Check pipes, couplings, gaskets and fittings visually and dimensionally before unloading. Store pipes on level ground, protected from UV exposure and within safe stacking limits.
2. Step-by-Step Corrugated Pipe Installation
Step 1: Trench Excavation and Ground Preparation
Corrugated pipes are flexible pipes. They carry external loads together with the surrounding soil, so trench preparation is critical.
- Trench width: Leave enough room for placement and compaction of the side fill. A working area of about twice the outside diameter or diameter plus 40-50 cm is generally suitable.
- Ground improvement: Remove rock, rubble and excessively wet soil. In rocky ground, excavate another 15-20 cm and create a bedding layer with sand or crushed stone dust.
Step 2: Bedding
Use 0-10 mm or 0-16 mm crushed sand, gravel or fine aggregate. Compact it evenly and provide continuous support under the pipe body. Remove stones and high spots that could create point loads.
Step 3: Lowering Pipes and Checking Grade
- Small pipes may be lowered under control, but large-diameter and SN8 pipes must never be rolled into the trench. Use ropes, slings or an excavator.
- Install pipes in the design flow direction, generally with socketed ends facing upstream. Verify elevation and slope at every joint with a laser level or precision level.
Step 4: Gasket Placement and Socket Jointing
- Clean the socket and gasket groove completely.
- Fit the EPDM gasket into the correct corrugation without twisting or stretching.
- Use an approved soap-based lubricant. Never use mineral oil or grease.
- Push the pipes to the socket limit in a controlled manner. For large pipes, use an excavator with a timber block; never strike the pipe directly with the bucket.
Step 5: Backfilling and Compaction
Much of a flexible pipe's load capacity comes from the stiffness of the surrounding fill. Place fill evenly on both sides in 20-30 cm layers.
- Haunch area: Carefully fill and compact the area from the invert to the springline, reaching at least 95% Proctor density.
- Cover fill: Place and compact at least 30 cm of sand or fine aggregate above the crown.
- Main backfill: After the protective cover is complete, place excavated material in layers and compact to the project requirement.
3. Common Installation Errors and Risks
- Insufficient bedding compaction: Causes settlement, standing water and separated joints.
- Incorrect backfill: Large rocks and clay lumps can puncture or apply point loads to the pipe.
- Twisted or displaced gasket: Leads to leakage at the joints.
- Early heavy-vehicle traffic: Can deform and ovalize the pipe before protective cover is complete.
Conclusion
Corrugated pipe installation combines engineering calculations, correct material selection and careful field work. Following standards and the manufacturer's technical specifications from excavation through final compaction helps infrastructure lines remain watertight and reliable for decades. Correctly installed corrugated pipe reduces operating and maintenance costs.
Corrugated Pipe Installation